It's harvest time at Rosie's cottage 😊 The extreme summer weather this year, I mean over six weeks of near constant sunshine and above 20C temperatures, for us Scots that's pretty extreme 😊 has been such a blessing! Not just for us but for our precious garden too.
I went into the back garden yesterday and the branches of our little apple tree were literally sagging with the weight of the apples on them! We've been so blessed honeys 🍎
We planted our little tree in the back garden in Spring of 2007 so it's around 11 years old and it's been a journey watching it grow. The first apple, a single, perfect apple, appeared in 2014, and each year I've been so excited checking to see if our (still very young) tree would have apples that year.
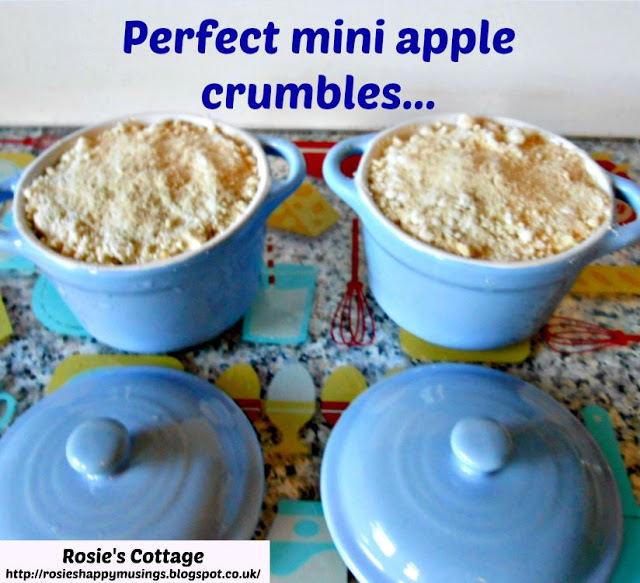
In 2015 there were three apples and I was so happy 😊 The following year was the first time I was able to make mini apple crumbles using our home grown apples and there are no words for how much it made me smile honeys 😊
Well, this year the tiny apple tree has outdone itself dear ones and in fact Hubby had his own Sir Isaac Newton moment when an apple decided to resoundingly clock him on the head 😍
After that, it was obvious that our extremely hot, humid summer had brought harvest time forward and it was time to collect those apples before they either end up scattered all across the garden by the wind or Hubby (bless him!) our furbaby Jade or myself are taken out by another apple incident!
Let's have a look shall we?
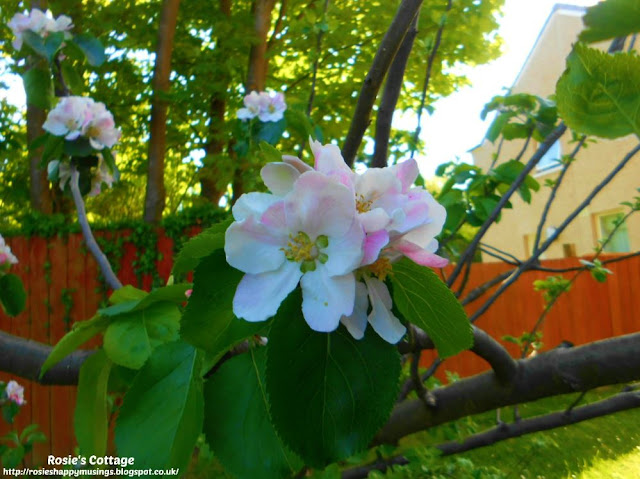
Every year for some time now we've had the most gorgeous apple blossom appear to welcome spring to our wee garden and this year was no different...
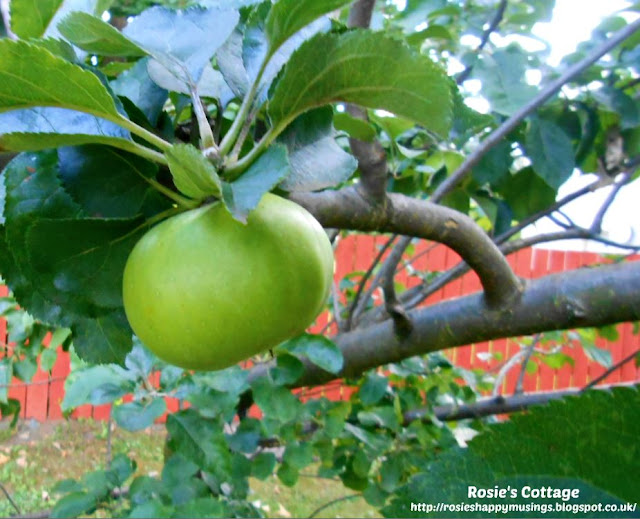
This stunning apple blossom, in turn, day by day changed into lovely Bramley apples...
Once the apples appeared they kept growing, getting bigger and bigger. Far larger than they've been in previous years...
So honeys, yesterday off into the garden I went with my trusty assistant, our furbaby Jade, to collect the ready-to-be-gathered apples and ended up with a huge tub full...
The apples in the above photo are what's left, around 6 or 7 less than the actual number grown by our tiny tree because the apples have (along with the huge blueberry shrub) been a food source for our little feathered garden visitors 😊
So, having brought the apples inside I set about washing them in a solution of two caps of white vinegar mixed through a bowl of warm water. They were very thoroughly washed and rinsed again with fresh, cold water and placed onto kitchen towel on the drainer by the sink to allow them to dry...
I still can't believe these perfect Bramley apples grew in our little garden honeys...
So honeys, having thoroughly washed the apples and allowed them to dry, it was time to store them.
Unless you're going to use up all of the apples collected all at once, it makes sense to store them away to be used as needed.
Storing your harvested apples🍎
If your apples are stored correctly they should last for quite some time. The length of time will vary of course, depending on the variety of apple but apples which ripen (and so are harvested) later will of course stay fresh longer into the year.
Are the apples ready to leave the tree?
To check if your apples are ready to be collected, don't wait until a loved one has a gravity proving moment as my dear Hubby did (sorry Honey!) instead cup your hand under an apple and gently lift it and give it a very gentle "half turn." If the apple comes away easily it's ready to be gathered.
Which apples to store?
Once you've washed your apples, inspect them to decide which can be stored safely and which will have to be eaten or used in recipes sooner.
A little insect damage on the surface of the skin is fine but don't store any apples which are bruised or damaged under the skin. These will be fine to eat or cook with (although you can if you prefer cut away the bruised part) but not to store because this kind of damage might encourage them to rot and this rot can, in turn spread, leading to your healthier apples also rotting.
All of your clean, dry, non-bruised apples can then be wrapped individually in a sheet of kitchen roll/towel or as has been done for decades in newspaper.
Where to store your apples?
Apples should be stored in a cool, dry, frost free environment. Possibilities include a garden shed, workshop or even in a garage. They could be stored (wrapped individually) on a shelf or use a seed tray.
In the right environment they'll last for weeks but you'll have to go check on them regularly honeys, removing any which show signs or deteriorating to prevent damage to the others.
How I've stored our little crop of apples🍎
Having followed the steps above to sort the apples into those I could store and those I'd use straight away to cook with I went to our fridge and fetched the salad/crisper drawer which thankfully in our fridge is quite large.
I carefully lined it with two layers of kitchen roll/towel
I then carefully wrapped the apples, individually, in kitchen roll/towel and placed them into the container, being careful not to pack them too tightly to avoid causing bruising.
Once the apples were all wrapped and packed into the container I finished by adding a few layers of kitchen roll/towel across the top of the container for extra protection and placed the crisper/salad drawer back into the fridge.
I'm so grateful to have our little mini harvest honeys and I can't wait to show you what I'm going to make first using these wonderful, home grown apples 😊
Till next time dear ones, smile lots and hug even more, huggles always, Rosie 💋


No comments:
Post a Comment