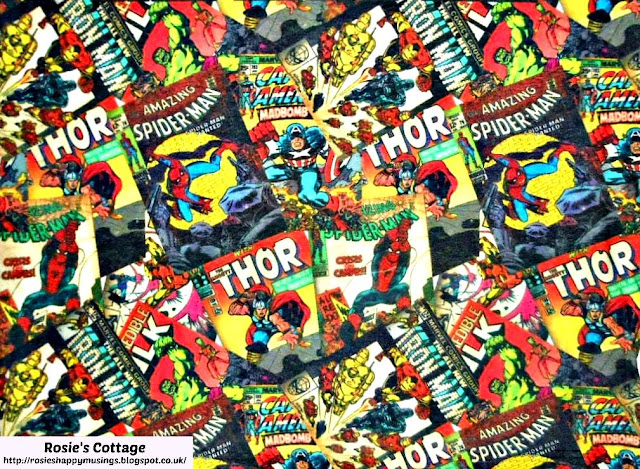
Did you manage to see my post on Loki the other day? I thought I'd share how I made the background for that post, and how you can do it too :)
When I decided to post about the gorgeous gift from Cheryl the other day I wanted to take a photo for my blog that would show Loki at his best. I decided to make a background worthy of the son of Odin :)
I thought for a while and while I would normally use my assorted canvases as a background, I wanted something different and then... *ping* an idea! Hubby has this (too many lol) tee shirt.......
So I set up the canvases as usual, borrowed Hubby's t shirt (thank you honey x) and did this.....
That image was then cropped and edited and it became this.....
While draping a tee shirt over a canvas clearly works in adding interest to your background, there is another way to use this method. As before, the tee shirt is draped over the canvas and photos taken. Having picked the image to work with, it's over to Pic Monkey to edit it.
The image is then cropped and edited as before until we are left with this......
That's pretty cool huh honeys? You could then use this image as a background but instead of photographing an object in front of the tee shirt, we instead superimpose an image onto it using Pic Monkey. In order to do this, open your background image in Pic Monkey.......
Choose the butterfly icon which will take you to the page which allows you to choose an image to add to your background. When that page has opened it will look like this......
You can then choose the image you'd like to add to your new background. Once your image is there, change the image's size, location on the background etc. When you're happy with the appearance of your new image, save as normal. Remember when saving an image in Pic Monkey to add ".jpg" after the file name.
As you can see I've added a photo of our furbaby Jade smiling :) Isn't she a cutie?
This is so easy to do honeys, It's actually fun :) Of course you don't have to use tee shirts, why not use a pretty sheet of gift wrapping paper? Or a piece of really pretty fabric? Your choices really are limitless. This could be fun :)
So, over to you honeys, any thoughts? Have you used fabric or other items as backgrounds for your blog posts? If so please share in the comments section, I'd love ideas to try out.
It's actually not raining outside this morning, yaaaay! After all of the rain yesterday it's lovely to see the sunshine :) I so hope that you're seeing the sun where you are too. Have a wonderful weekend dear ones, smile and hug lots :) Till next time, hugs always xx


2 comments:
That's a brilliant idea! I've used wallpaper, towels, notebooks, sheets of card, scarves and bits of material before. xx
What fabulous ideas Leah! ooooo scarves!! never gave scarves a thought & I have some pretty ones, thank you honey you're an angel! Apologies for the late reply, I need a better system to see comments :/ I'll try at some point to figure out how to make disqus work, I tried but didn't get very far. Sending heaps of hugs honey xx
Post a Comment